How to build a custom OpenWRT image for Raspberry Pi Router
Primary Goal
Build a custom OpenWRT image to be installed on the SD card or eMMC on the Raspberry Pi, so that it works as an network router.
Project Requirements
- Raspberry Pi
- USB to Ethernet dongle (regular Raspberry Pi) or DFRobot Router Board for Raspberry Pi CM4
- USB Power Supply
- 2 RJ45 cables – one to connect the raspberry to the modem and other to connect raspberry router to the computer or network switch
- Micro SD card if using a Raspberry Pi without eMMC
Initial considerations
The objective of this tutorial is to build a custom OpenWRT image ready to run on a Raspberry Pi. This tutorial works for any Raspberry model, but be aware of the need for additional drivers depending on the USB-Ethernet dongle you are using.
This walkthrough also serves to create OpenWRT images for Odroid, Nvidia Jester, ZimaBoard, and other tinker boards. However, in the configuration step, it is necessary to select the appropriate drivers.
For transparency purposes, I’m going to configure a Raspberry Pi CM4 to act as a router. If you are using a Raspberry Pi CM4 Router Board from DFRobot, just follow this step by step.
Host Setup
This step-by-step needs to be performed on a Linux operating system, with good processing power, to speed up the compilation process. If you don’t use Linux operating system, no problem, just install a virtual machine on your computer with Mac OS or Windows.
If you have questions on how to create a virtual machine, access this tutorial: Create Virtual Machine Tutorial with Virtualbox
If you are going to use a virtual machine, I recommend the setup:
Processing: at least 4 cores
Storage: 25GB (minimum)
RAM: at least 2GB
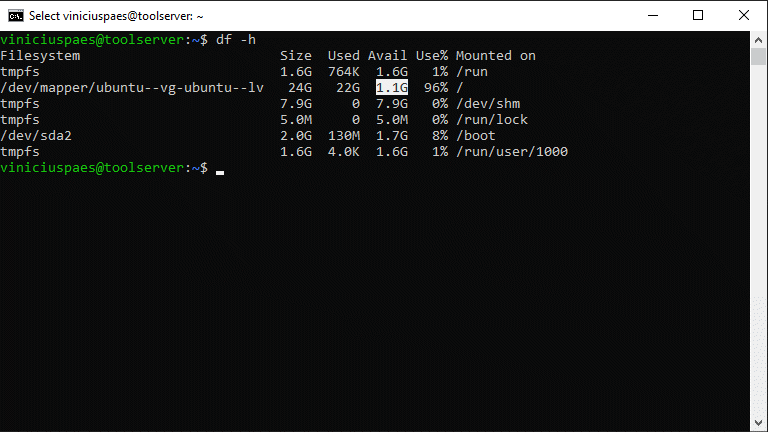
After creating the virtual machine and later creating 4 OpenWRT images (2 complete images and 2 for upgrade), the virtual machine had only 1.1GB of available disk space. So the minimum size of 25GB for disk space is adequate (pictured below).
Step by step tutorial to create OpenWRT image for Raspberry Pi to act as a network router
Step 1
The first step is to package update and upgrade. So, we need to update the system software, using the commands:
sudo apt update
sudo apt upgrade
Step 2
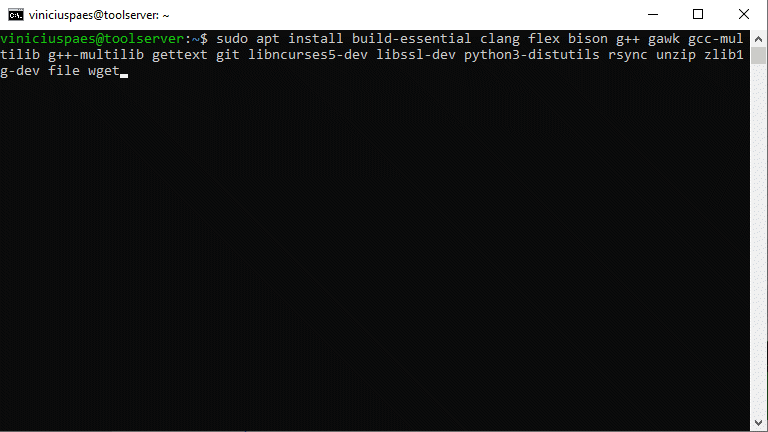
Now you need to install the necessary software for the openwrt image creation environment:
sudo apt install build-essential clang flex bison g++ gawk gcc-multilib g++-multilib gettext git libncurses5-dev libssl-dev python3-distutils rsync unzip zlib1g-dev file wget
Step 3
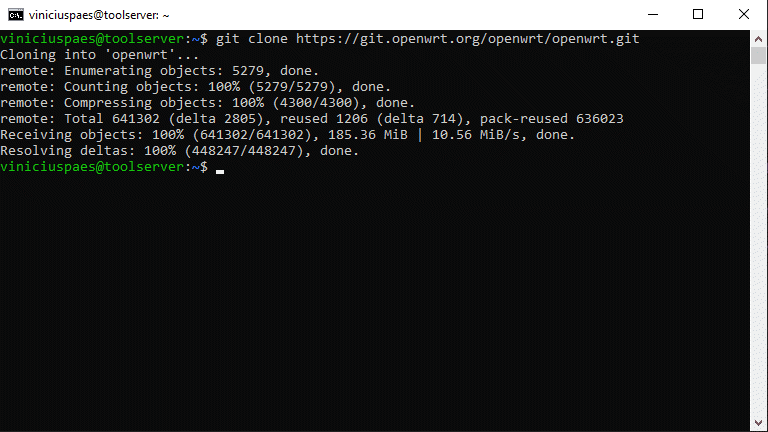
Now it is necessary to download openwrt source code directly from its github repository. I usually do this download inside my user folder (cd ~). Let’s clone the project with the command:
git clone https://git.openwrt.org/openwrt/openwrt.git
Step 4
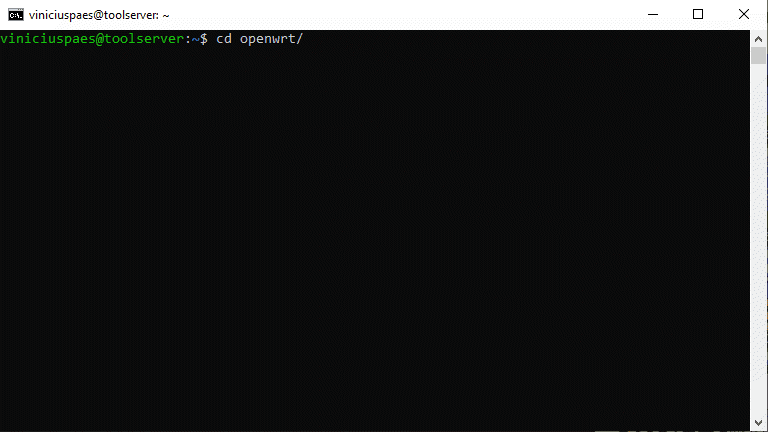
After downloading the source code, we need to enter (cd) the created folder:
cd openwrt
Step 5
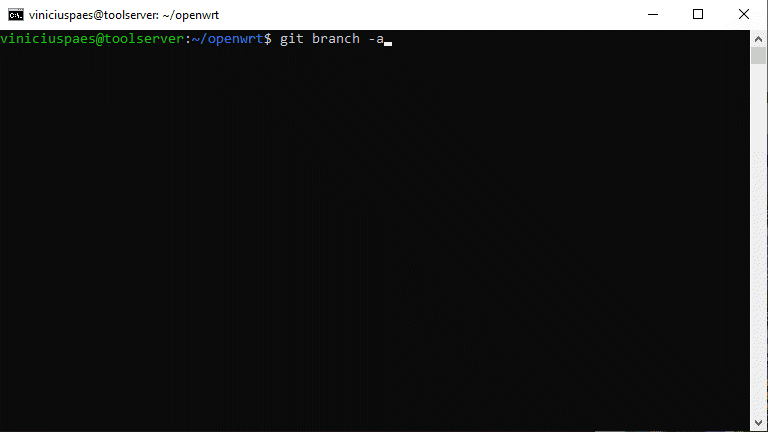
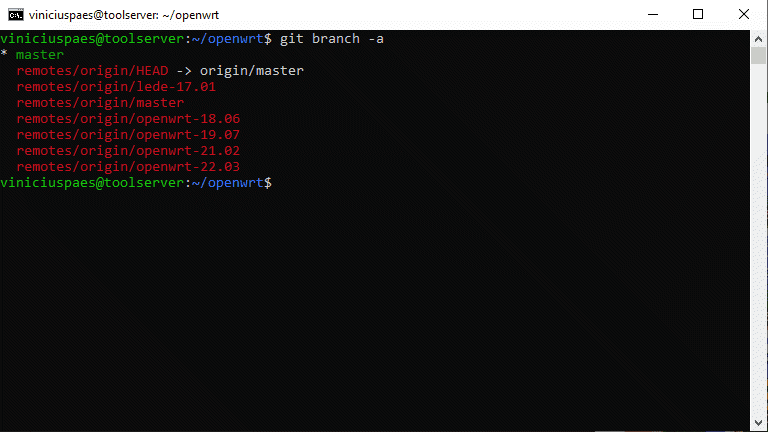
Let’s now check the available branches. Remembering that the main branch (master) is not a stable version of openwrt.
git branch -a
Step 6
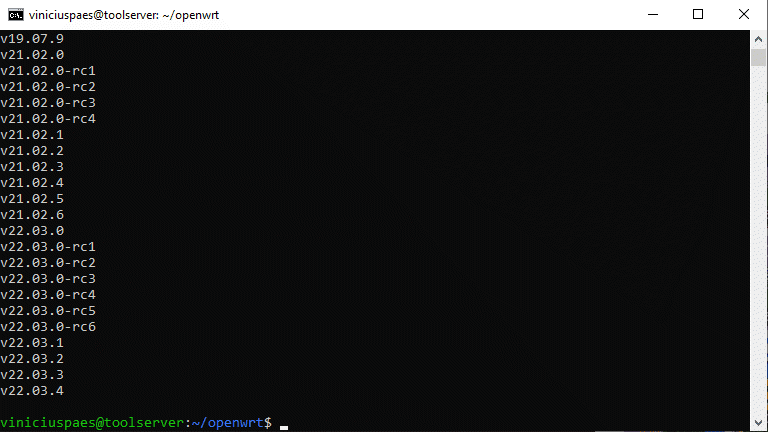
Let’s see the available versions with the command:
git tag

Step 7
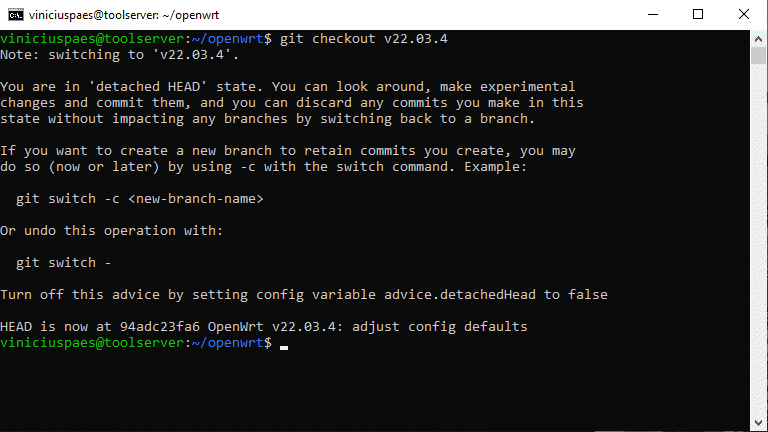
The latest stable version available as of the date of this tutorial is v22.03.4. So let’s choose it to create our OpenWRT image.
git checkout v22.03.4
Step 8
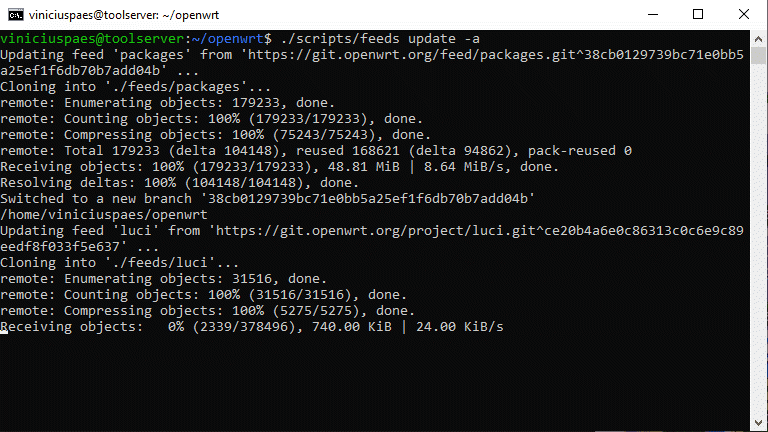
Now we can use the command to update the dependencies for this version of openwrt:
./scripts/feeds update -a
Step 9
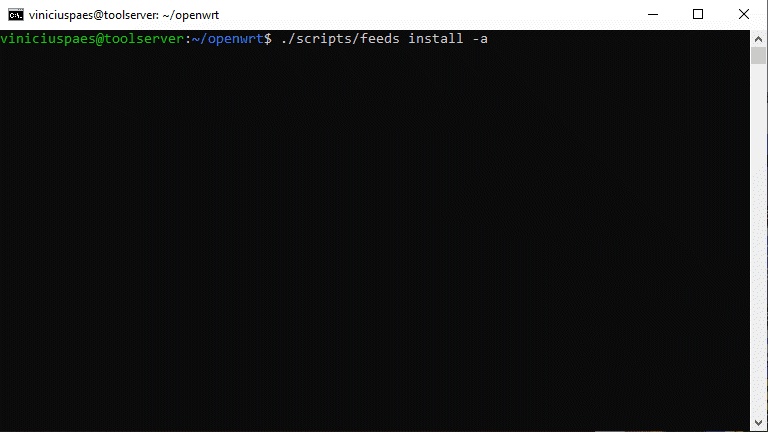
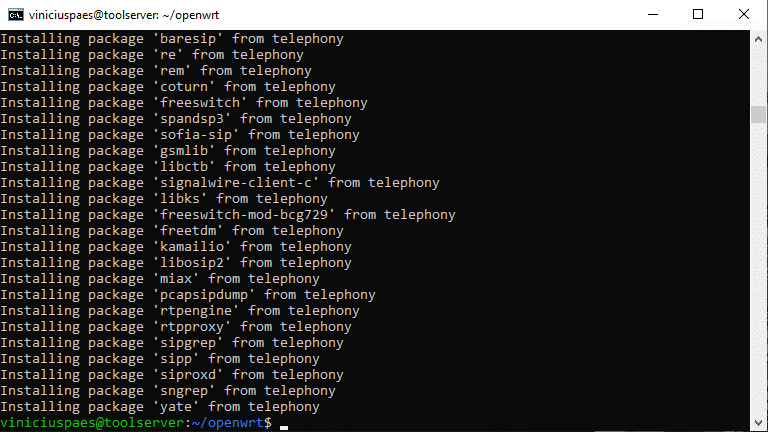
Next, we now need to install the required software and dependencies for this selected version of openwrt:
./scripts/feeds install -a
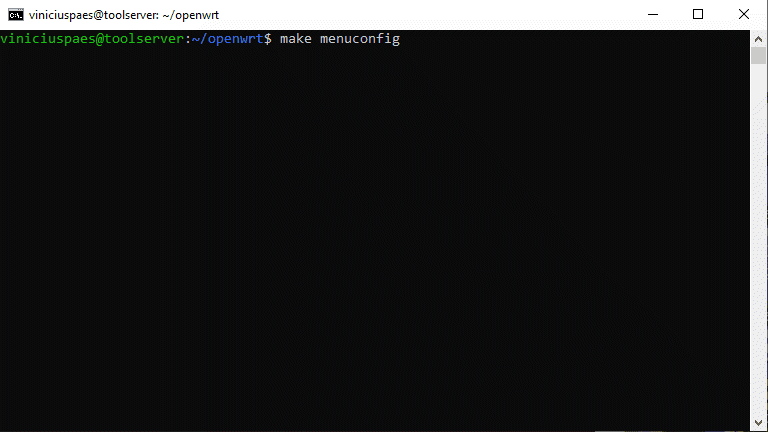
Step 10
Now let’s move on to settings performed by menuconfig. Run the command to open the menu:
make menuconfig
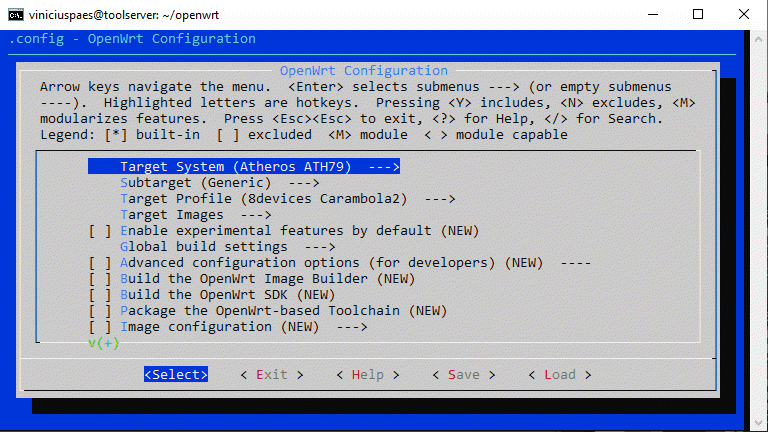
Step 11
Within the menu, it is necessary to define the Target System. Use the keyboard arrows and press ENTER over the option:
Target System (...) --->
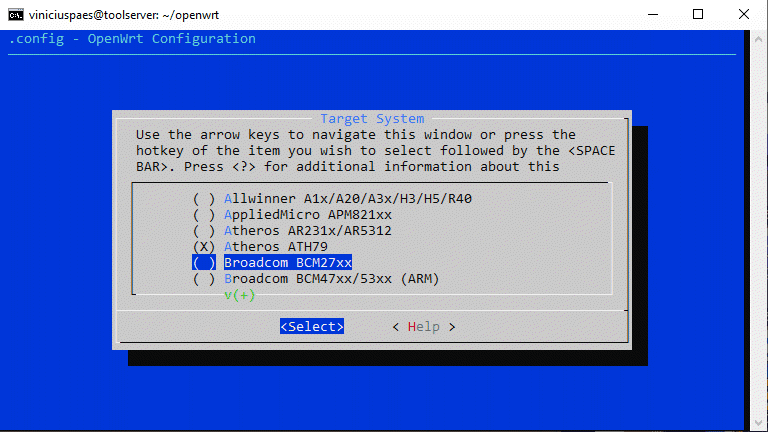
Now choose Broadcom’s 27xx processor family option:
BROADCOM BCM27xx
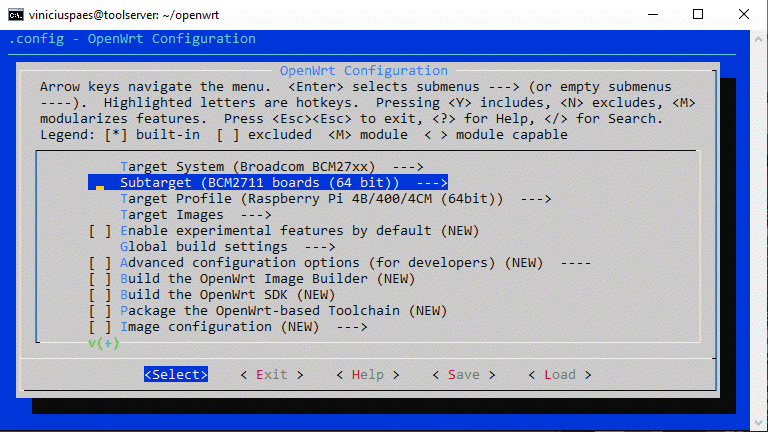
Step 12
After selecting the Target System, you will be returned to the main menu. Now it is necessary to define the exact processor of the BCM27xx family in subtarget. Navigate through the menu and select the option:
Subtarget (...) --->
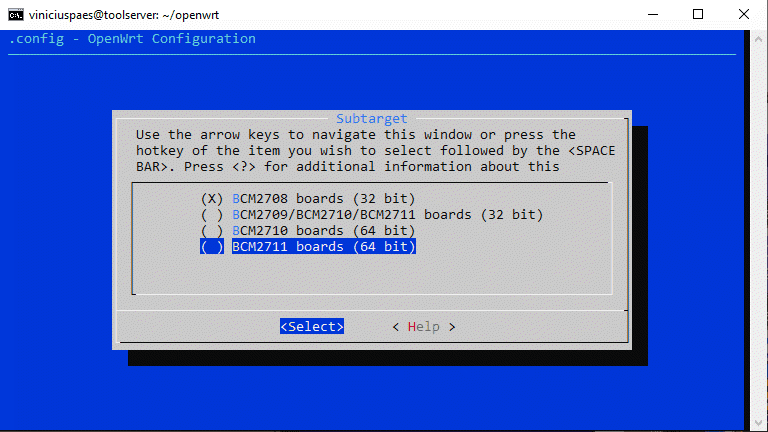
Within the Subtarget menu, select the option:
BCM2711 boards (64 bit)
Step 13
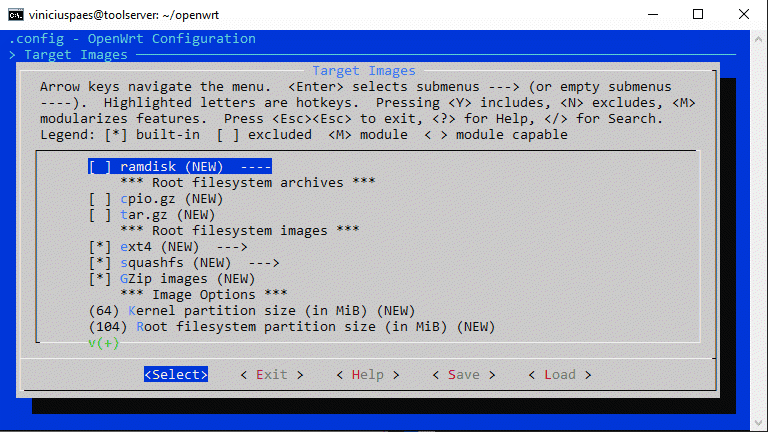
After selecting the Subtarget, you will be redirected back to the initial screen of the menu. Now we need to define aspects of the openwrt image to be created. The file system type and size of partitions. Select option:
Target Images --->
In the target images menu you have several options. For the purpose of this example, I will create custom images for ext4 and squashfs filesystem and also compress them with gzip.
I don’t recommend changing the default kernel partition size unless you know what you’re doing.
If you know the exact size of your memory card or eMMC, you can change the root partition size so that you don’t have to perform file system expansion after installation. Remember to discount the size of the root partition so that the calculation is precise.
After configuring the Target Images settings, use the keyboard arrow and select the EXIT option to return to the main Menu screen.
Step 14
In these next steps, we need to install 3 main drivers:
- kmod-r8169
- kmod-usb-dwc2
- bcm27xx-userland
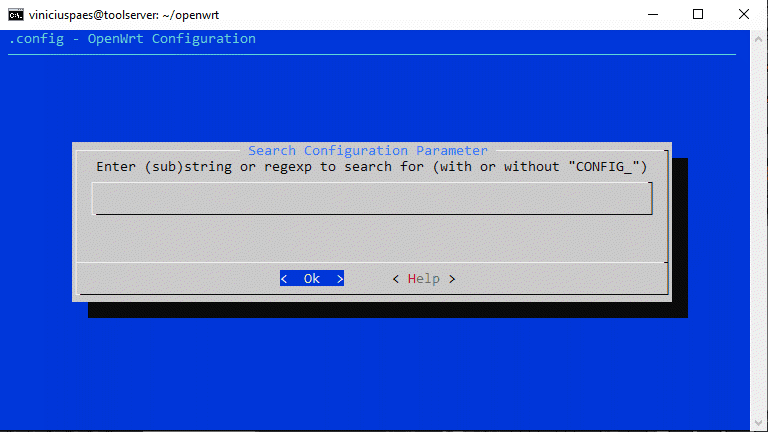
However, there are several submenu divisions and it can be difficult to find out which submenu is the option to install the necessary packages. But menuconfig has a search tool that can be activated using the hotkey:
/
This hotkey is similar to the VI or VIM text editor search option.
If you need to install additional packages to enable your USB dongle, ethernet, or USB ports, etc; this search option is recommended (it informs the path within the menu to the driver you search for, if found/available).
You don’t need to perform any search at this time, you can close the search field and follow the steps from the main menu.
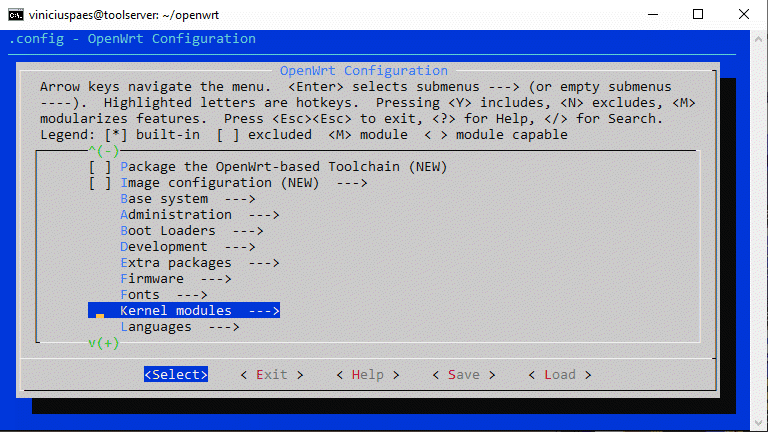
Step 15
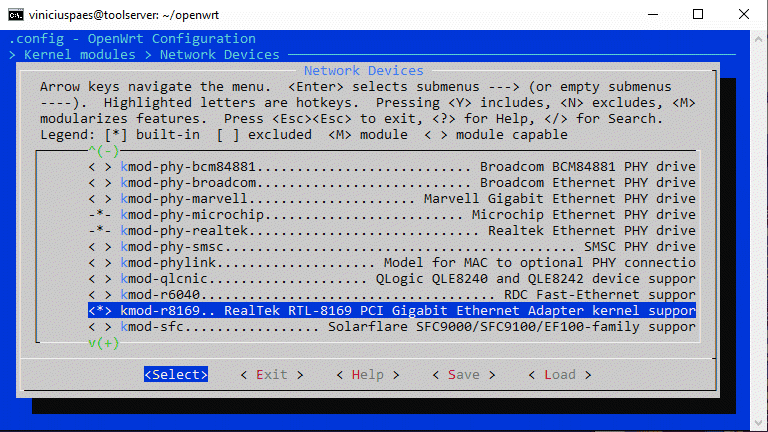
To install the kmod-r8169 driver, we need to navigate through the submenu:
Kernel Modules
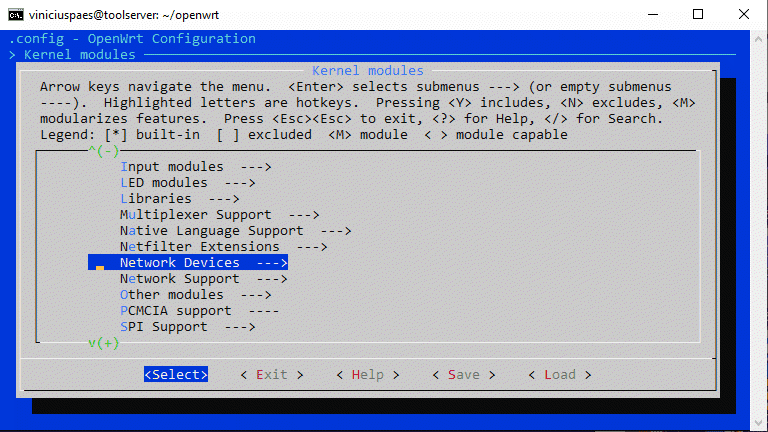
Then go to the submenu:
Network Devices
Find the option:
kmod-r8169 (Realtek RTL-8169 PCI Gigabit Ethernet kernel support)
To be able to select this option, press the SPACE key twice. It will be selected when an asterisk <*> appears inside the brackets.
Use the keyboard arrows and select the EXIT option to return to the Kernel Modules submenu.
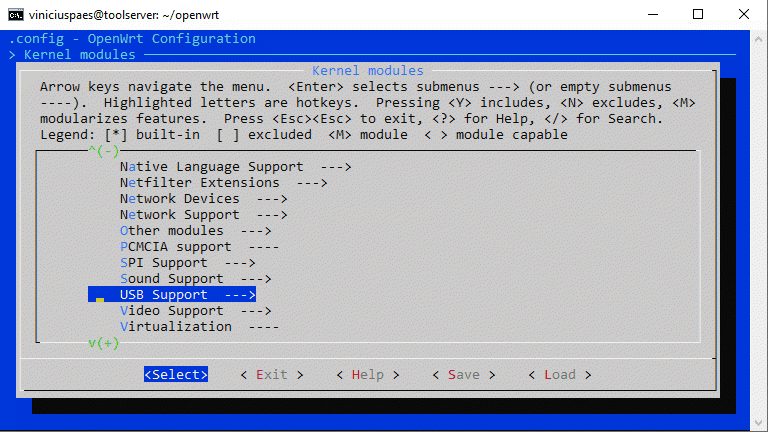
Step 16
Still inside the Kernel Modules submenu, go to the option:
USB Support --->
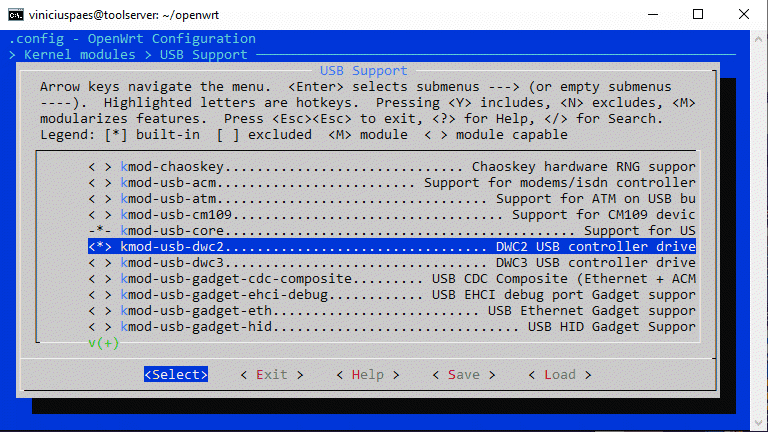
Find the option:
kmod-usb-dwc2 DWC2 USB controller drive
To be able to select this option, press the SPACE key twice. It will be selected when an asterisk <*> appears inside the brackets.
Use the keyboard arrows and select the EXIT option to return to the Kernel Modules submenu. Select EXIT again, to return do the main menu.
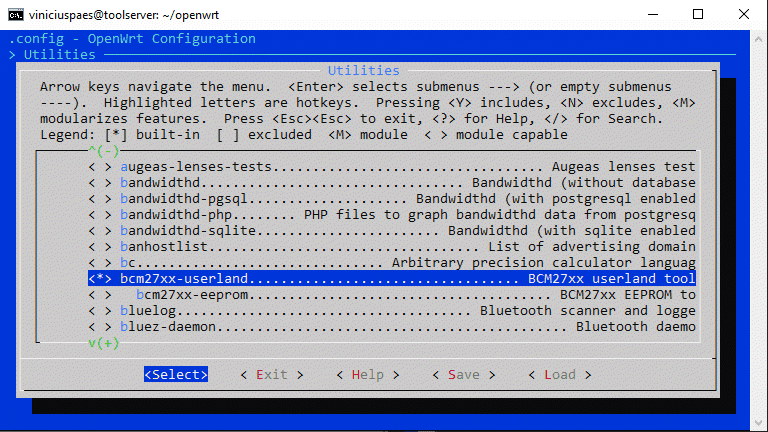
Step 17
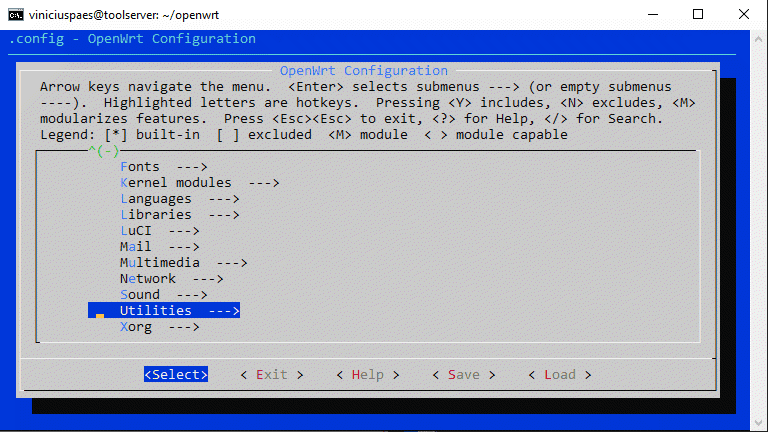
Now we need to install the bcm27xx-userland driver to support the Broadcom BCM27xx family of processors. Select submenu option:
Utilities --->
Find the option:
bcm27xx-userland BCM27xx userland tool
To be able to select this option, press the SPACE key twice. It will be selected when an asterisk <*> appears inside the brackets.
Then select EXIT to return to the main menu.
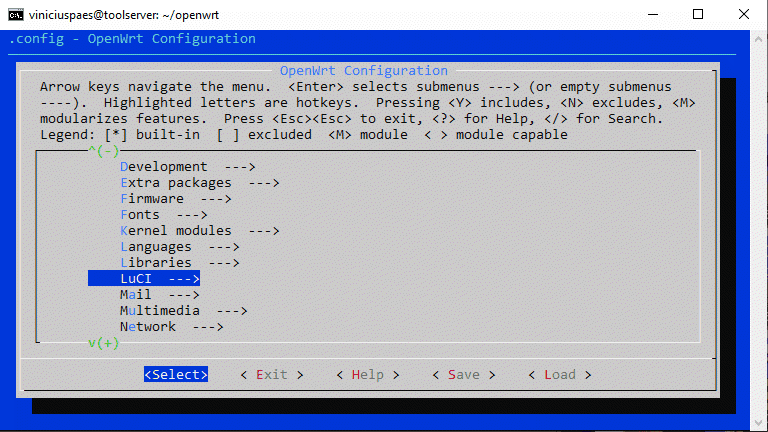
Step 18
From the main menu, search for and select the option:
LuCI --->
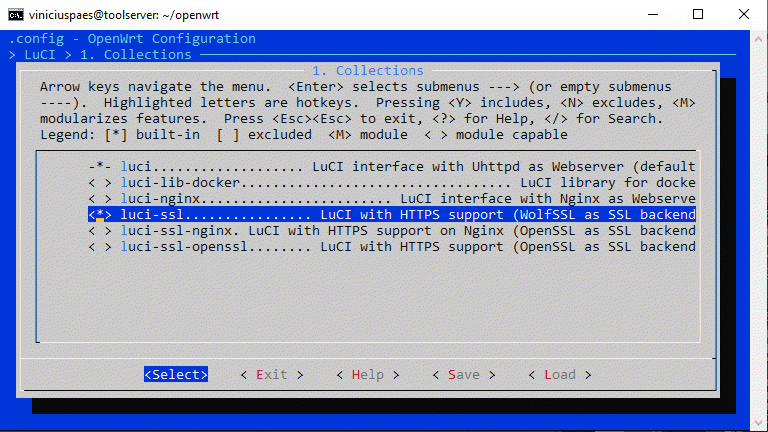
Within the LuCI menu, find and activate the 2 options below:
luci          LuCI interface with Uhttpd as Webserver (default)
luci-ssl      LuCI with HTTPS support (WolfSSL as SSL backend)
To be able to select this option, press the SPACE key twice. It will be selected when an asterisk <*> appears inside the brackets.
Then select EXIT to return to the main menu.
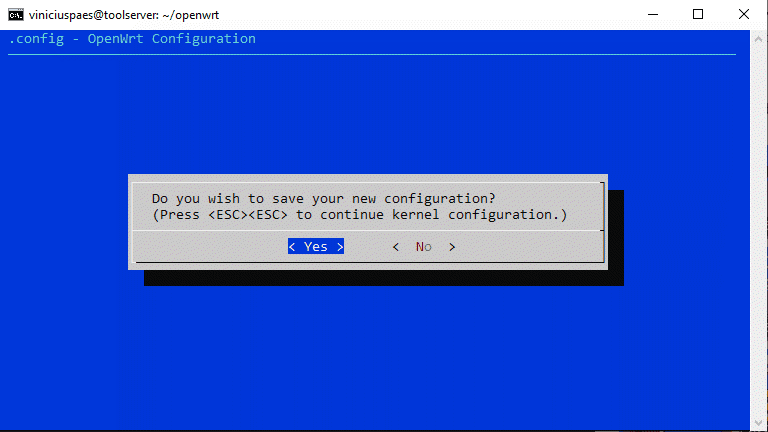
Step 19
If you are not going to install any more drivers of your choice, select EXIT again to close the menuconfig.
The option to save the selected settings will appear. Select:
< YES >
Step 20
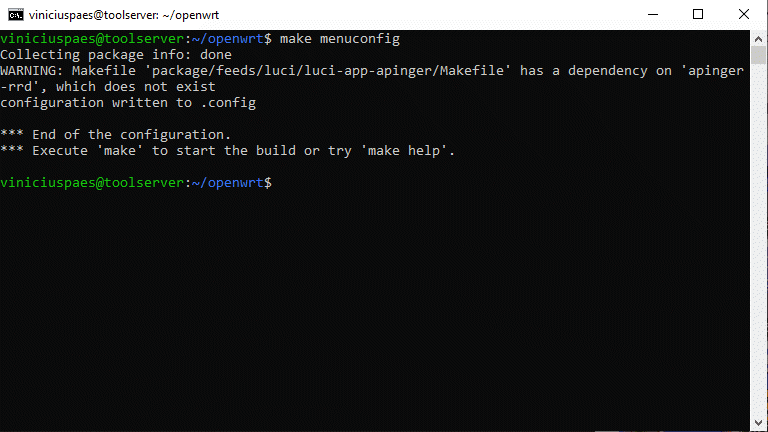
If an error appears when closing the menuconfig, try to identify which package or software has a problem. In my specific case, an error appeared in the apinger package. An unusual error as I didn’t select to install it.
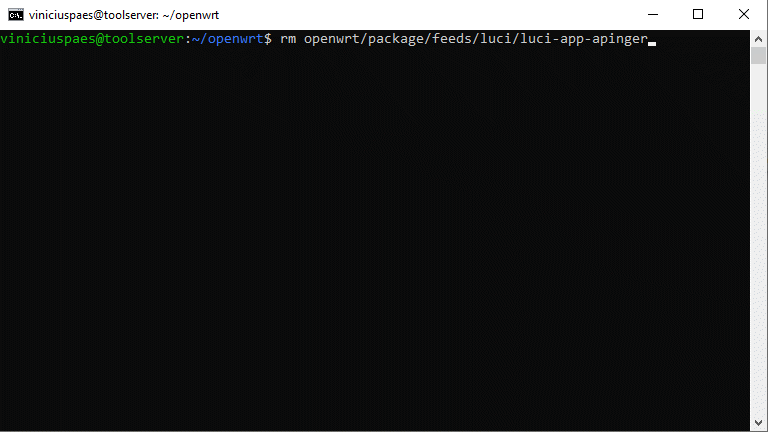
To solve this error, I just deleted the file:
rm openwrt/package/feeds/luci/luci-app-apinger
Probably when you run this tutorial, the above error will be corrected already in the repository, as other users opened an ISSUE in github.
Step 21 – Optional Settings
Now let’s introduce some optional settings:
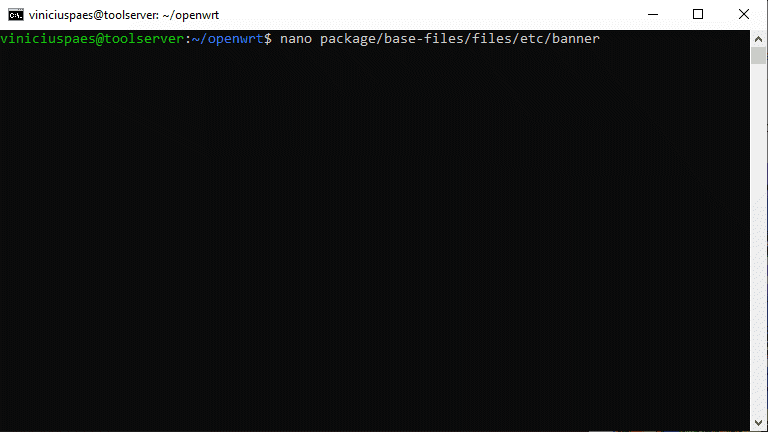
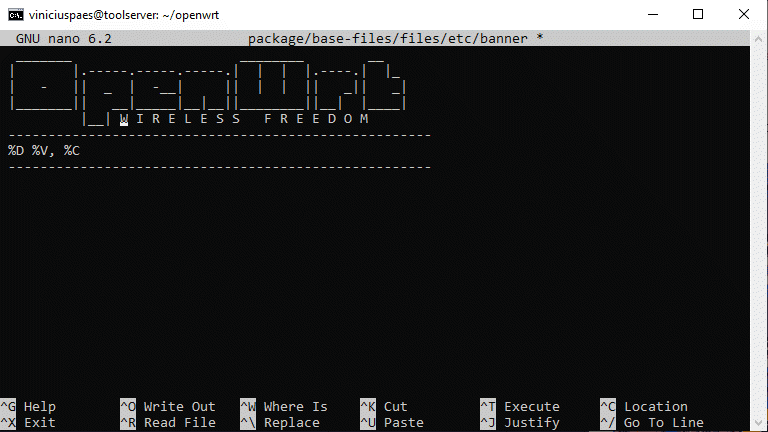
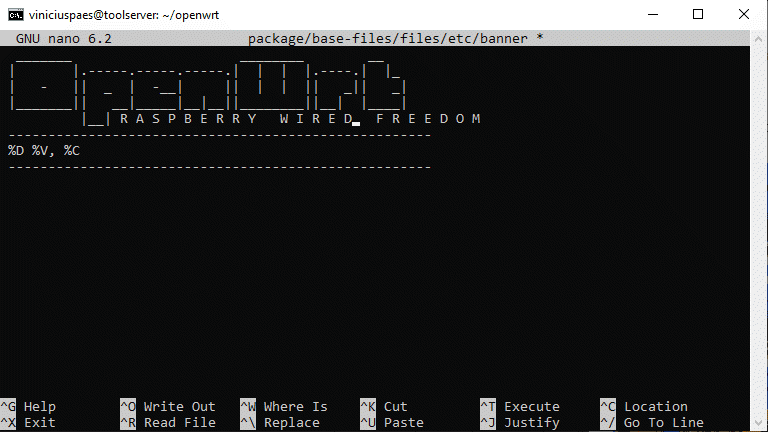
Change login banner
If you want to make cosmetic changes, just edit the file:
nano package/base-files/files/etc/banner
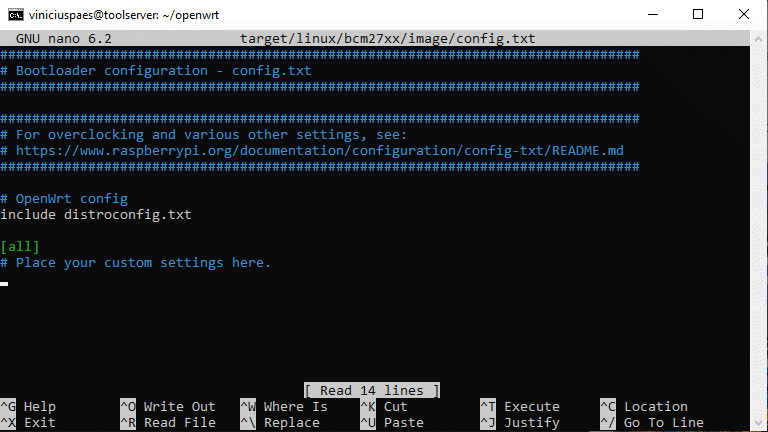
Enable UART
The UART is disabled by default, to enable it, just edit the file:
nano target/linux/bcm27xx/image/config.txt
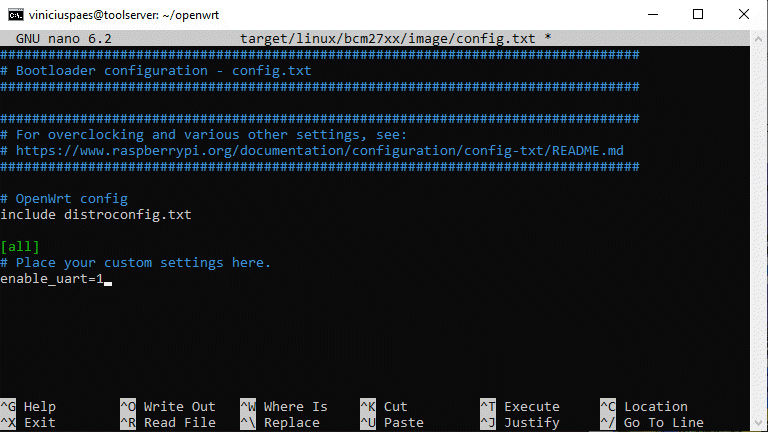
Just below the field “Place your custom settings here.”, insert the text:
enable_uart=1

Load configuration files about login, network, firewall, dhcp, etc
This step is NOT RECOMMENDED for general use. The best option is to let openwrt generate the files and later perform the modifications manually. One justification is that openwrt can undergo updates that change the layout of these files, which can cause installation problems. But for the purposes of automating the generation of images, it is certainly an interesting option.
If you want to perform this step, you need to create the directory structure:
mkdir files
mkdir files/etc
mkdir files/etc/config
Now edit the configuration files and fill in with the settings you have. A tip for this step is to already have openwrt configured on another router and copy and paste your settings. In any case, the main files to edit are:
nano files/etc/config/dhcp
nano files/etc/config/firewall
nano files/etc/config/network
nano files/etc/config/wireless
nano files/etc/passwd
nano files/etc/shadow
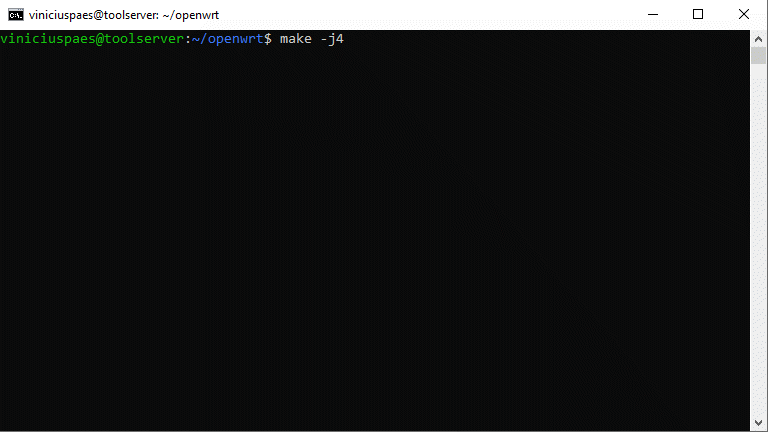
Step 22 – Compile
With all the desired changes already made, let’s now run the make command to start compiling the source code. Remembering that the -j option defines the number of cores to be used. As I have 4 cores, I use -j4, to speed up the process. Use the command to start compilation:
make -j4
The compilation process may take lot of time, please wait with patience.
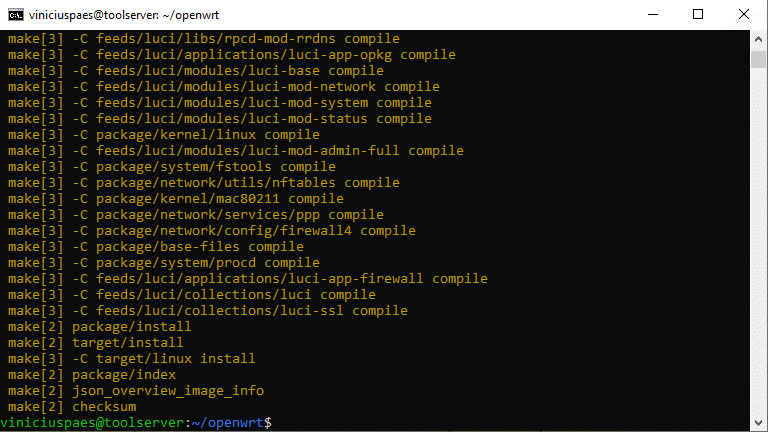
Step 23 – Image files created
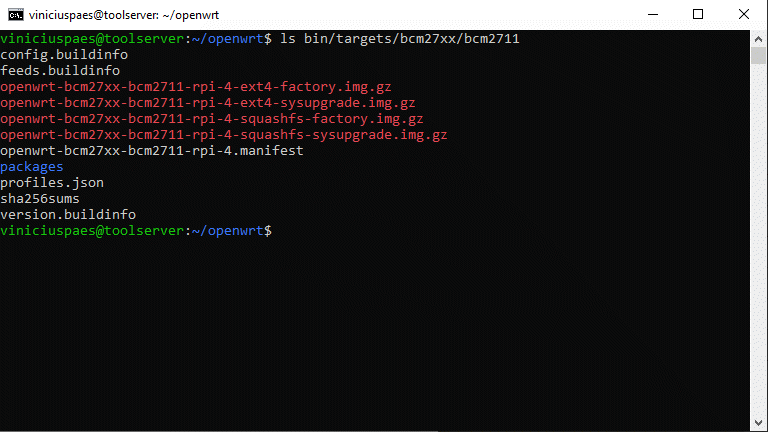
After the build process is finished, you can check the created files in the folder:
ls bin/targets/bcm27xx/bcm2711
In this example, 4 files were created, based on OpenWRT v22.03.4, they are also available to download from my google drive:
- openwrt-bcm27xx-bcm2711-rpi-4-ext4-factory.img.gz (full version with ext4)
- openwrt-bcm27xx-bcm2711-rpi-4-ext4-sysupgrade.img.gz (upgrade version for ext4)
- openwrt-bcm27xx-bcm2711-rpi-4-squashfs-factory.img.gz (full version with squashfs)
- openwrt-bcm27xx-bcm2711-rpi-4-squashfs-sysupgrade.img.gz (upgrade version for squashfs)
Remembering that you must choose which file system you want to use on your raspberry. I use ext4 for the general case, when I install other packages on the raspberry (LAMP server). If the raspberry is dedicated to work as a router, the squashfs partition is the recommended option, as it preserves the file system to the factory default after boot.
If you have any questions or suggestions about the process of creating a custom OpenWRT image, please write them in the comments! I will do my best to answer!